Top 5 Ways to Make Coffee on Trail
All right coffee nerds, buckle up, we’ve got a lot to cover.
Ahhh, coffee. The nectar of the gods. And more than likely, a daily part of your morning routine. Your morning caffeine fix may be the best part of your day, so don’t leave that behind when you head out on the trail.
Coffee made in the fresh air and solitude of the backcountry just hits differently. Even a mediocre cup tastes gourmet when made in view of a river while surrounded by old-growth trees. But there’s no need to resign yourself to mediocre coffee. Just because you’re unplugged from the world doesn’t mean you have to endure a substandard cup.
Making Coffee on Trail
There are many different methods for making coffee—some are transferable to the trail and others are not. Taking into account the equipment and power needs of different coffee methods, let’s talk about a few of our favorite ways to brew a cup in the great outdoors.
Before we get started, we want to highlight our 3 big criteria use for choosing how to make coffee in the backcountry:
- Leave No Trace. It is important to consider the proper ways to dispose of any waste when cooking in the backcountry. Unless you’re at a campsite with trash cans, this generally means packing out any waste or wastewater.
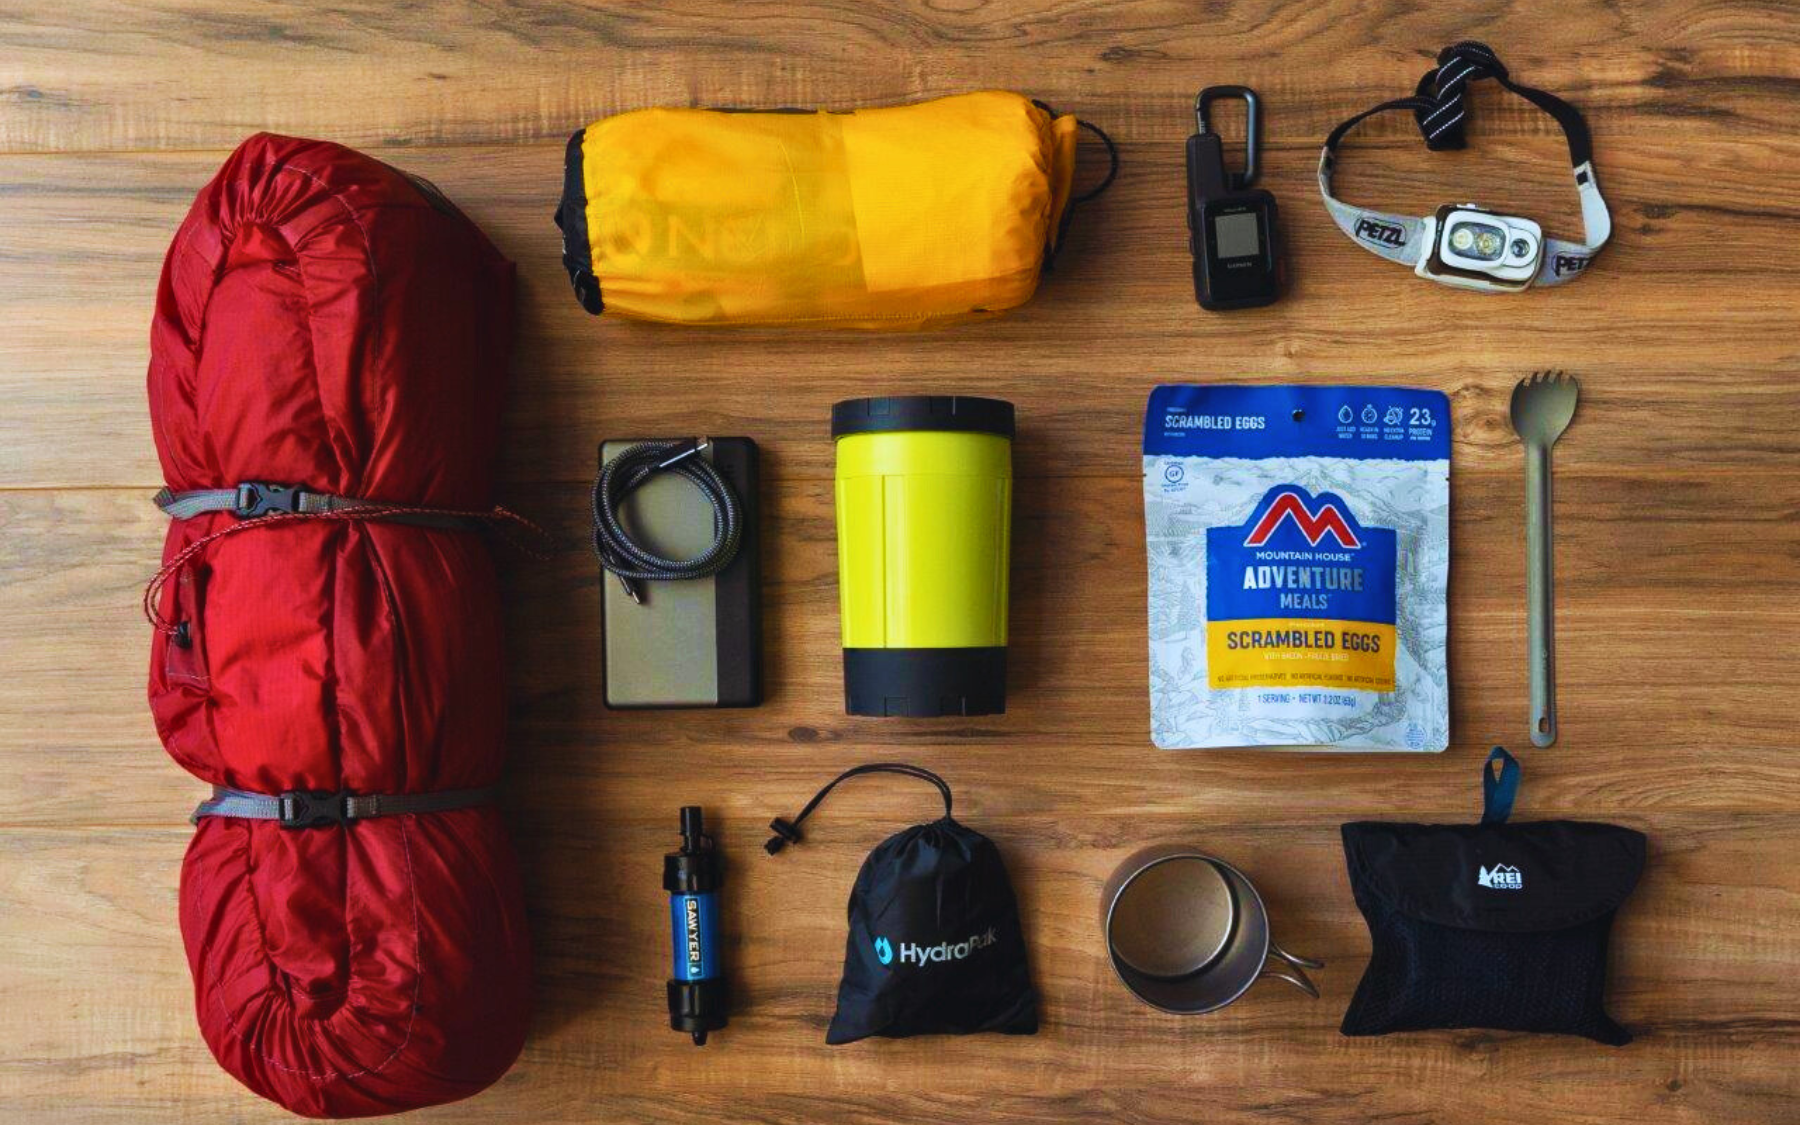
- Equipment Necessary: When hiking, camping, or backpacking, making coffee generally requires a compact and lightweight solution—something that will fit into your backpack. While there are many methods to make coffee, relatively few are well suited for the backcountry.
- Ease of Process: Making coffee can be as easy or as complicated as you’d like. The various techniques and equipment used to make coffee can drastically impact the flavor and quality, and in the backcountry, it’s important to understand how easy or complex you are willing to have the coffee making and cleanup processes be.
With all of this in mind, pplease be a responsible caffeinated camper and keep our backcountry pristine for future visitors and safe for wildlife.
So, without further ado…
Our Top 5 Methods for Making Trail Coffee
1. Instant Coffee
Instant coffee is probably the easiest method for trail coffee. You simply heat your water, mix in your coffee, and *ta-da*, a delicious cup of joe. And don’t worry, the options for instant coffee have grown beyond the ever-present Nescafe. There are now plenty of quality options for instant coffee on the go.
Why It’s Trail Friendly
- All you need to bring is your coffee and a way to heat your water.
- You can adjust the strength easily by adding more or less water to your coffee grounds.
- Minimal waste as there are no filters or used coffee grounds to dispose of.
- If you bring a jar or tin of instant coffee, there’s no single-use packaging to pack out.
- Because the coffee doesn't have to “brew” per se, just dissolve, you don’t have to heat your water all the way to boiling, only to coffee drinking temperature, which saves power on your cooking stove.
How to Make It
- Heat your water. You can heat it to coffee temperature (70C / 158F) instead of boiling if you’re looking to preserve power.
- Add in your instant coffee. It’s best to use the water-to-grounds ratio listed on your coffee.
- Stir and enjoy! It’s really that simple.
Cleanup
- If you used single-serve coffee, be sure to pack out the packaging it came in.
- Other than that, rinse your cup and you’re on your way!
2. French Press Coffee
Making coffee with a French press has become a common occurrence in kitchens everywhere. If you happen to be a lover of French press coffee, you’re in luck because it’s an easy method to take on the trail.
Why It’s Trail Friendly
- French press coffee needs minimal equipment. Just the press, the coffee, and a way to heat your water.
- There are many trail-specific presses available that are more compact and shatter-resistant than your typical home use versions.
- You can adjust the coffee strength to match your tastes.
- Minimal waste, although you do need to dispose of your coffee grounds.
How to Make It
- Heat your water. For this method, close to boiling is better, however, a full boil will burn your grounds. 93 to 96 degrees Celsius (200-205 F) is best for brewing. And if you’re using your EcoSimmer, you can see the exact temperature of your water.
- Put your grounds in your press. Follow the coffee-to-water ratio recommended by your coffee brand.
- Slowly add your water.
- Give everything a stir.
- Leave your coffee to brew for 4-5 minutes.
- Plunge and enjoy!
Cleanup
- Because the grounds are loose in the press, you need less equipment, but it can be a bit messier.
- Once you’ve finished your coffee, dump or scoop the grounds into a bag or other garbage container.
- To get out the remaining grounds, wipe with a paper towel and add that to your garbage bag.
- You can give the press and plunger a rinse, but be sure you’re disposing of your wastewater properly.
3. Steeped Coffee
Steeped coffee is made with the same method as tea. It’s similar to the French press method in that the coffee sits in the water until it’s sufficiently brewed. The pro of steeped coffee is that the grounds are contained so cleanup is much easier. The con is that since the grounds are more closely packed than with a French press, the flavor of the coffee may be a little less full.
Why it’s Trail Friendly
- The only equipment needed is a way to heat water.
- For supplies, you need your coffee and tea bags.
- Easy cleanup as your coffee grounds are contained in the tea bag.
- Easy to adjust coffee strength with more or less water.
How to Make It
- Heat your water to around 93 to 96 C (200-205 F). Your EcoSimmer will tell you the exact temperature.
- Put the desired amount of coffee grounds into your tea bag. The coffee is best when the grounds have room to move so try not to pack the tea bag too tightly. Try using two bags if necessary or buying the largest tea bags you can find.
- While it may seem like a good idea to pre-package your coffee into the tea bags, the coffee will lose its natural oils and begin to dry out. It’s best to add the coffee from its airtight container to the tea bags when you’re going to use them.
- Add the tea bags and water to your coffee cup and let sit for 3-5 minutes. Enjoy!
Cleanup
- Simply take out your tea bag when the coffee is finished steeping and toss it in your garbage container or bag.
4. Pour Over Coffee
Pour over coffee mimics the process of your coffee machine at home. Hot water is slowly poured over the coffee grounds until all the water has been run through and filled your cup with deliciousness. Pour over coffee can make a great quality cup of coffee. Some say this process is the most labor-intensive method, but we like to think of it as the most ritualistic. This is the method that allows you to be part of the process and fully engage with your caffeine addiction.
Why it’s Trail Friendly
- While you do need a pour over receptacle, many backpacking specific versions are collapsible and extremely lightweight.
- Some pour over systems have a built-in filter. The pro of this is you don’t need to pack in single use filters, the con being without a disposable filter the coffee grounds aren’t contained and cleanup can be a little messier.
- The type of coffee grounds you can use is basically unlimited and the quality of the finished cup is quite high. So even in the middle of nowhere, you can enjoy the gourmet expensive stuff.
How to Make It
- Put your coffee in the cone of your pour over receptacle. Paper filter or no paper filter will depend on your equipment and cleanup preferences.
- Heat the desired amount of water. You can take it to the usual number of 93 to 96 C (200-205 F); however, this method opens things up for more personalization. We’ve made this method with water closer to coffee temperature (70C / 158F) and find the result more full-bodied and richer in flavor. Play around a bit. See what works best with your tastes and power needs.
- Slowly pour enough water over the coffee to wet all the grounds. Once everything is thoroughly wet, stop pouring for about 30 seconds.
- Continue pouring slowly in a circular motion until you’ve used all your water.
- Let the water fully drain through the coffee grounds. Once it stops dripping, enjoy the fruits of your labor!
Cleanup
- If you used a disposable filter, just put it and all the grounds into your garbage,
- If you have a reusable filter, dump your grounds into your garbage. Give the filter a good shake and tap inside the bag to get out as much of the grounds as possible.
- If there are pesky remaining grounds, use a paper towel to wipe them out or give it a rinse - just be sure to mind your wastewater!
5. Cold Brew
Ah, cold brew. The answer for your caffeine fix on blisteringly hot days. Cold brew coffee is quite easy to make, either on the trail or in your kitchen. It also stays stable after being brewed so you’re welcome to do the initial work at home and just bring the finished product with you on your trek, minimizing the effort and cleanup needed.
Why it’s Trail Friendly
- Very minimal equipment. At its core, you just need a watertight container, coffee, and water. No heating equipment required.
- Can be made ahead and brought with you without changing the quality.
- Not very labor intensive, it needs time, not effort.
- Easy cleanup.
How to Make It
- Start with coarse ground coffee. Fine grounds make more of a mess and can create bitter-tasting coffee. For easier cleanup, you can tie up your grounds in a coffee filter. Containing the grounds doesn’t seem to limit the flavor at all.
- Put your coffee in your leakproof container. A good ratio for cold brew is 1-part grounds to 4 parts water.
- Add your water. Remember, this is cold brew, so use cold water. It’s right in the name.
- Let your concoction sit for 12 - 14 hours.
- Either pull out your bag of grounds or filter out the loose coffee grounds. If filtering loose grounds, you can use a disposable coffee filter and cleanup is just as easy.
- Enjoy!
Cleanup
- Gather up your used coffee grounds, either from the tied-up filter they were soaking in or by filtering the loose grounds through a new coffee filter.
- Toss your filter and grounds in your garbage container.
Coffee with EcoSimmer
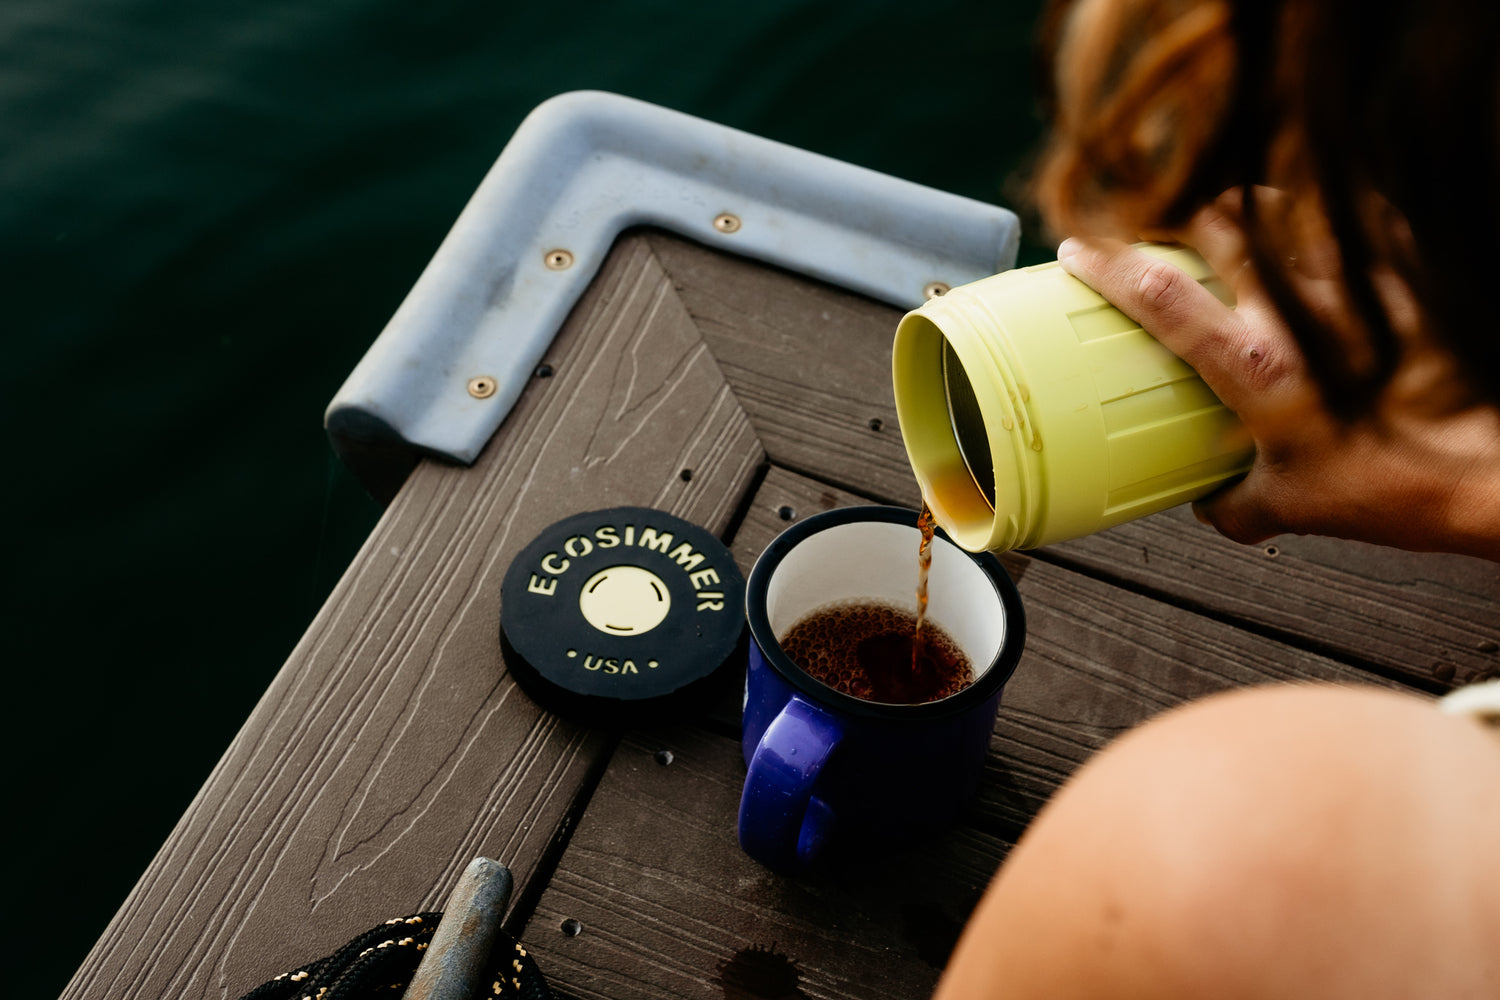
While there are many ways to heat water for your morning coffee, we’re pretty partial to EcoSimmer as your go-to coffee creation device.
Why EcoSimmer?
- There's no need for flame or fuel so you can brew your coffee during fire bans, rainstorms, high winds, or even while snuggled into your sleeping bag in your tent.
- Our temperature display means you have complete control over the heat at which you brew your coffee, an important feature if quality is your number one priority.
- With some methods, such as instant or steeped coffee, you can heat your water, make your coffee, and enjoy your beverage, all from the EcoSimmer itself. No dishes or extra equipment.
- EcoSimmer is just generally awesome and shows the world that you’re a responsible, outdoorsy person. Someone who hikes, camps, paddles, climbs, bikes, and is doing their part to take flames, fires, and fossil fuels out of our forests.
Want to learn more about EcoSimmer? Check out our EcoSimmer Backpacking Stove product page!


